When you create a new DevOps project, you only get one Git repo. It is possible to create more repos within the project, but not immediately obvious how. There are a couple of options;
Navigate to Repos, hit the drop down and select Manage repositories
Or…
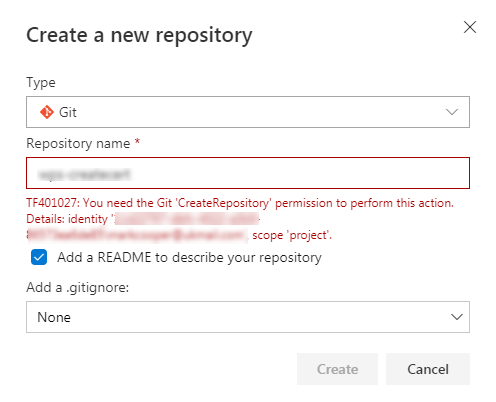
Open the project and go to Project settings| Repositories | New Repository
Permissions
You will need CreateRepository permissions to complete this.
Azure comes with a free hosting tier. This is limited to 1GB and on shared infrastructure, so won’t suit a website needing high performance, however for free hosting this is to be expected.
In this example we’re going to use the same GitHub repo and webpage created in part-1.
Step 1: Create an account or login
If you have an Azure account you can login to the Azure portal using your Microsoft login credentials.
TIP: Learn more about accounts, subscriptions and logins.
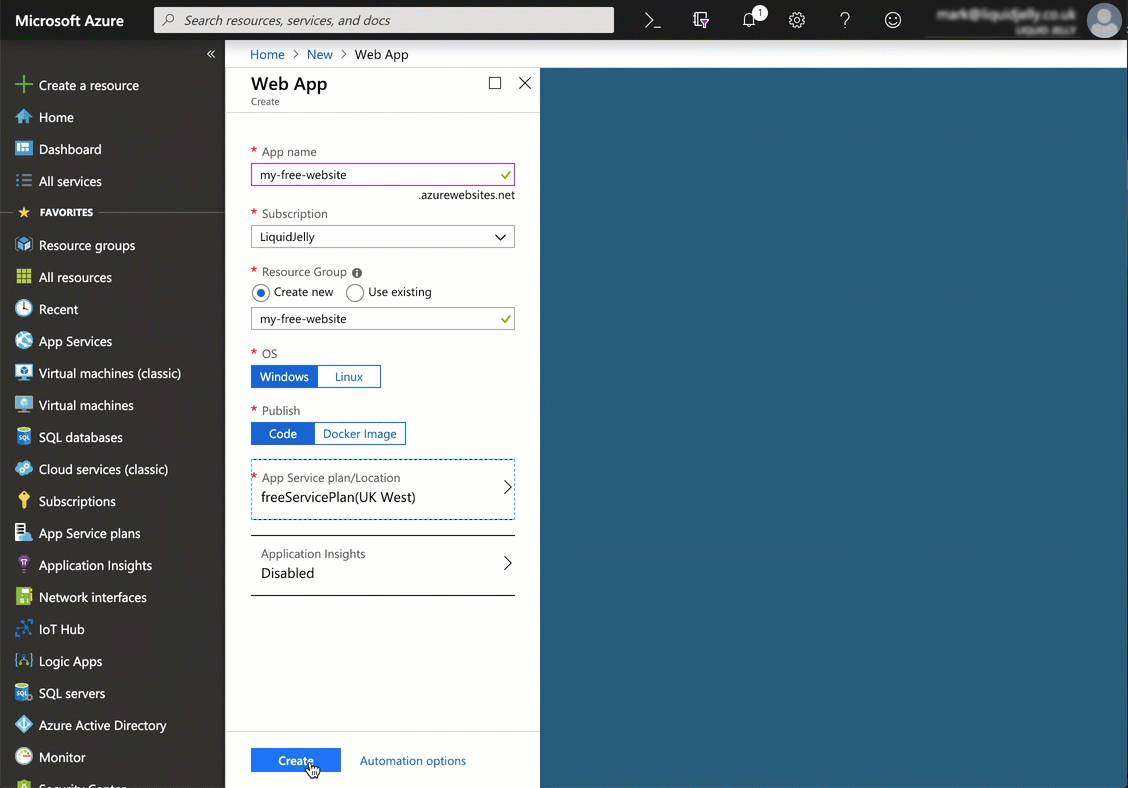
App name must be unique within the AzureWebsites domain, not just your account. A red message will appear if this is not correct.
Choose the subscription where you want the resource saved.
You are going to host a static website, so you can use Windows or Linux
Publish should be set to Code
Step 2b: Create a free service plan
This is the important bit: the App service plan must be F1 (free).
Select App Service plan | Create new
Enter an App Service plan name and select a suitable location.
Click Pricing tier, then under the Dev/Test tab select F1 then click Apply
Click OK to create the new App Service plan.
Click Create to create the web app
To find your new website, click on Home. The website should be at the top of your recent resources list.
Step 3: Add auto-deployment from Git
This step will work from any Git repository, not just GitHub. However GitHub and Azure are both managed by Microsoft, so this feels like a sensible choice.
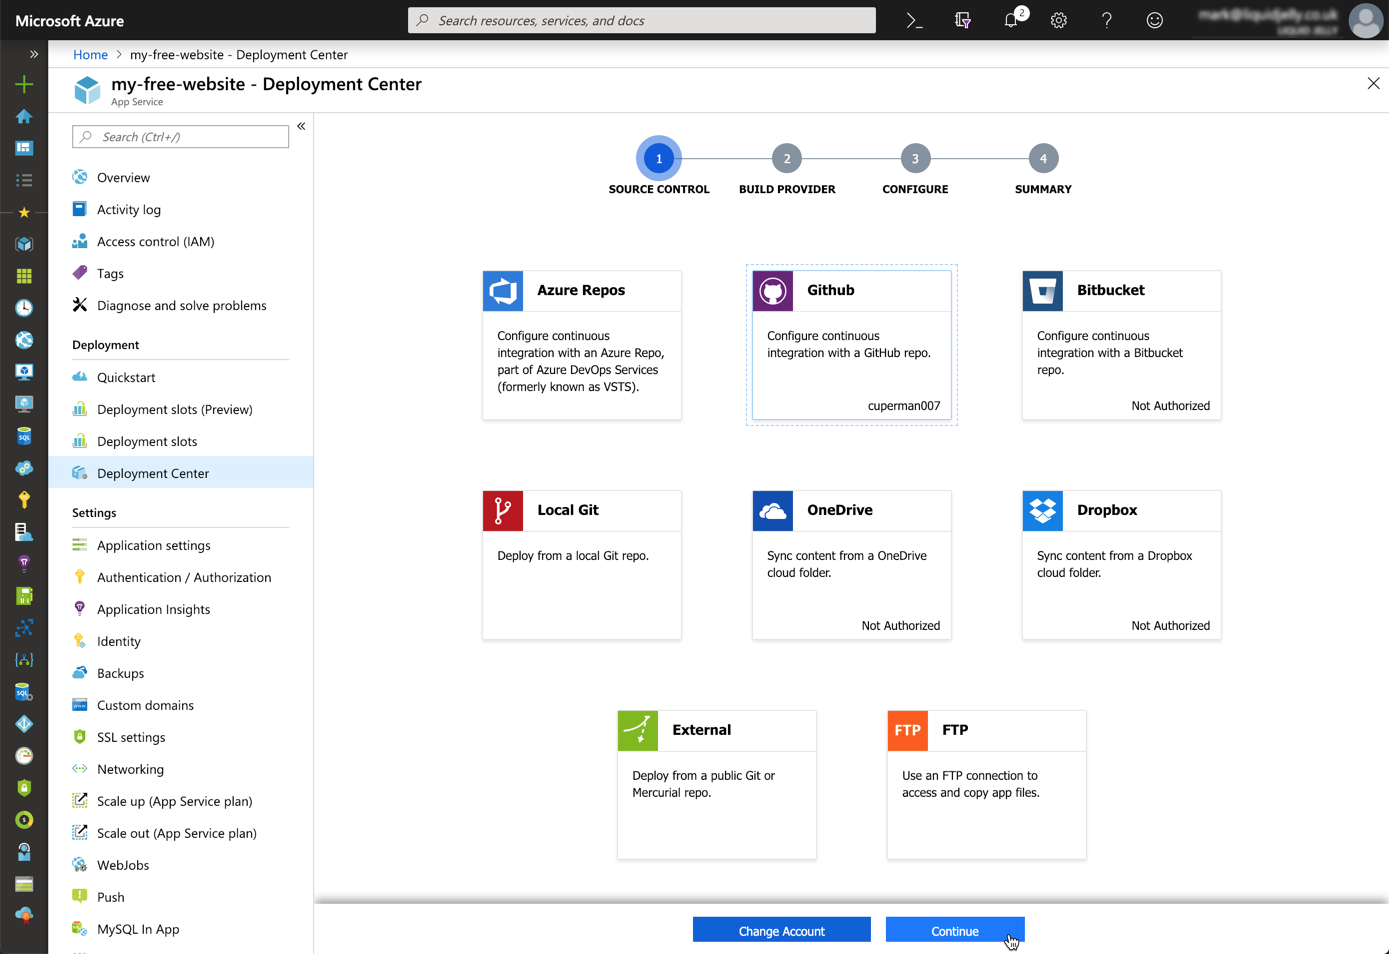
Open the website blade then select Deployment Center
On the first page (1 – Source Control) a list of available source options are available. Subsequent steps will reflect the choice made here. We’ll use the same source code from part 1, so select GitHub. You will need to authorise your subscription to access GitHub if you have not already done so.
Click Continue
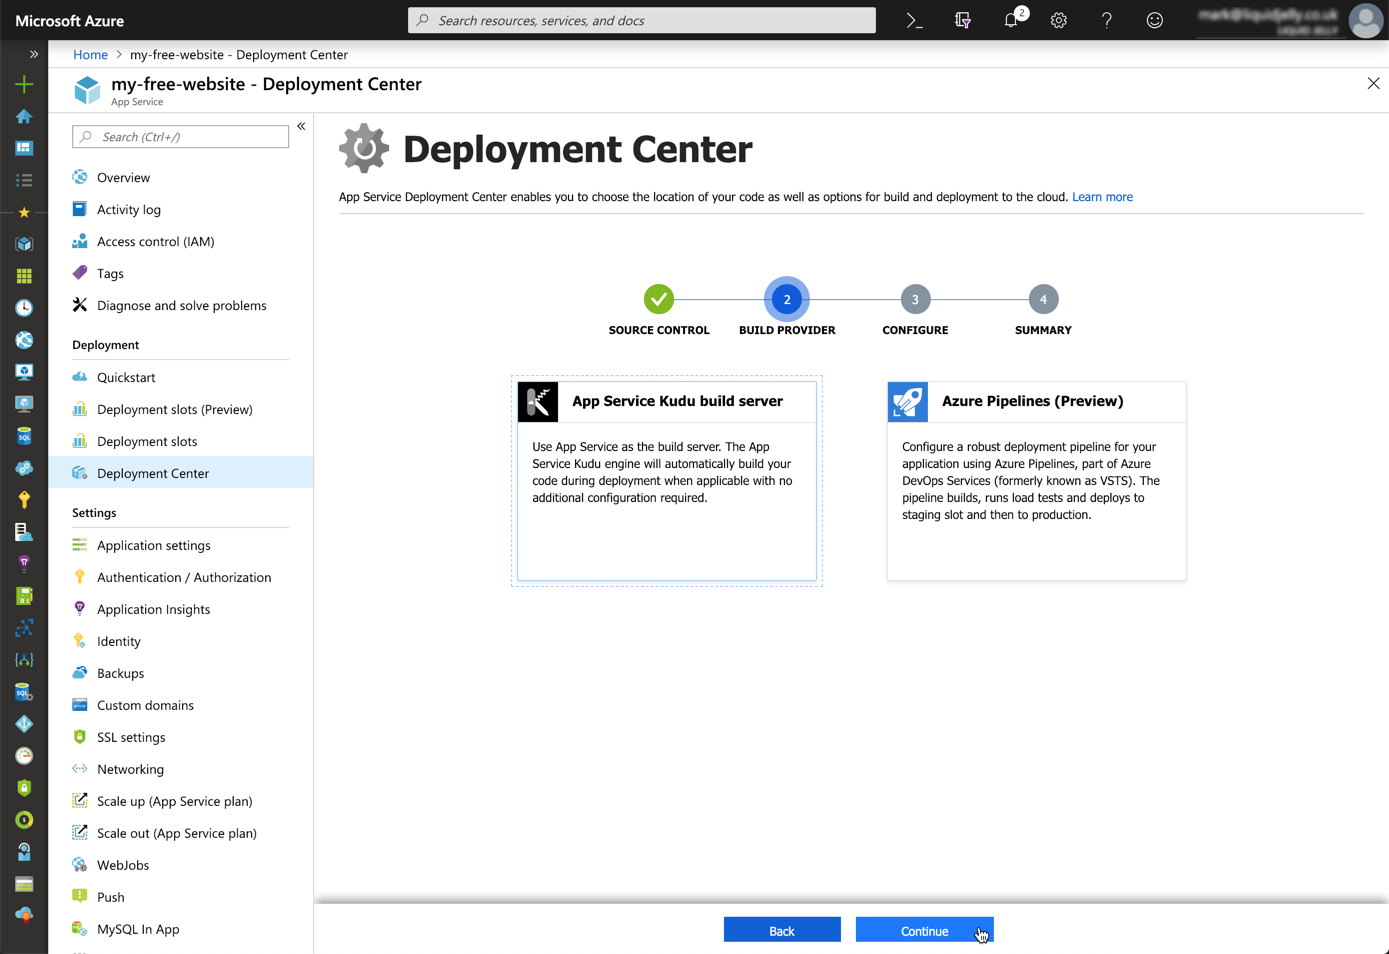
Step 2 (Build Provider), select App Service Kudu build server
Step 3 (Configure) select the suitable Organisation, Repository and Branch names.
Step 4 (Summary), click Continue and the deployment will start.
Toast notifications during deployment
Once complete a message will be displayed.
Status update after deployment
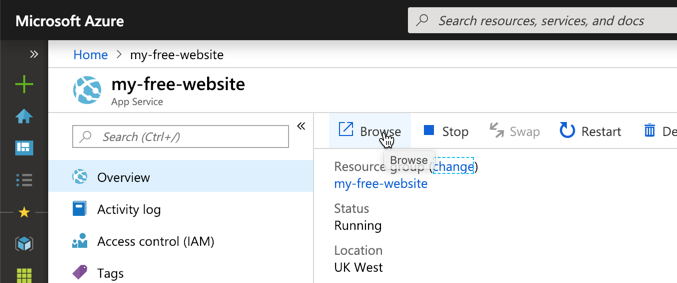
The website can be access by typing the URL, or from the resource home page Browse button.
Browse with the URL or the link
Done!
Hello free world!
Summary
In summary this approach is no-where near as easy as the steps in part-1. It’s not to say that this is difficult, just that GitHub pages is so simple. Most of the complexity for this site is in the creation of resource groups – and this can be confusing for beginners.
Also, the evolution of the Azure Cloud is moving at such an incredibly fast pace, it can be intimidating or daunting for developers to step in. Fears of features being here-today and gone-tomorrow are quite real – although websites feel pretty safe.
That said, free sites within an Azure website offer far more than just static website hosting. Within this same application you can also host an application with server-side code support (ASP.NET, PHP etc).